Scannable has tools for everyone - a mobile app for people on-site, and a browser-based app for those in the stores room or office.
I’m getting started on my:
Phone
Computer
Getting started with the Scannable app.
Download the app.
Download the free app from the App Store or Google Play.
01
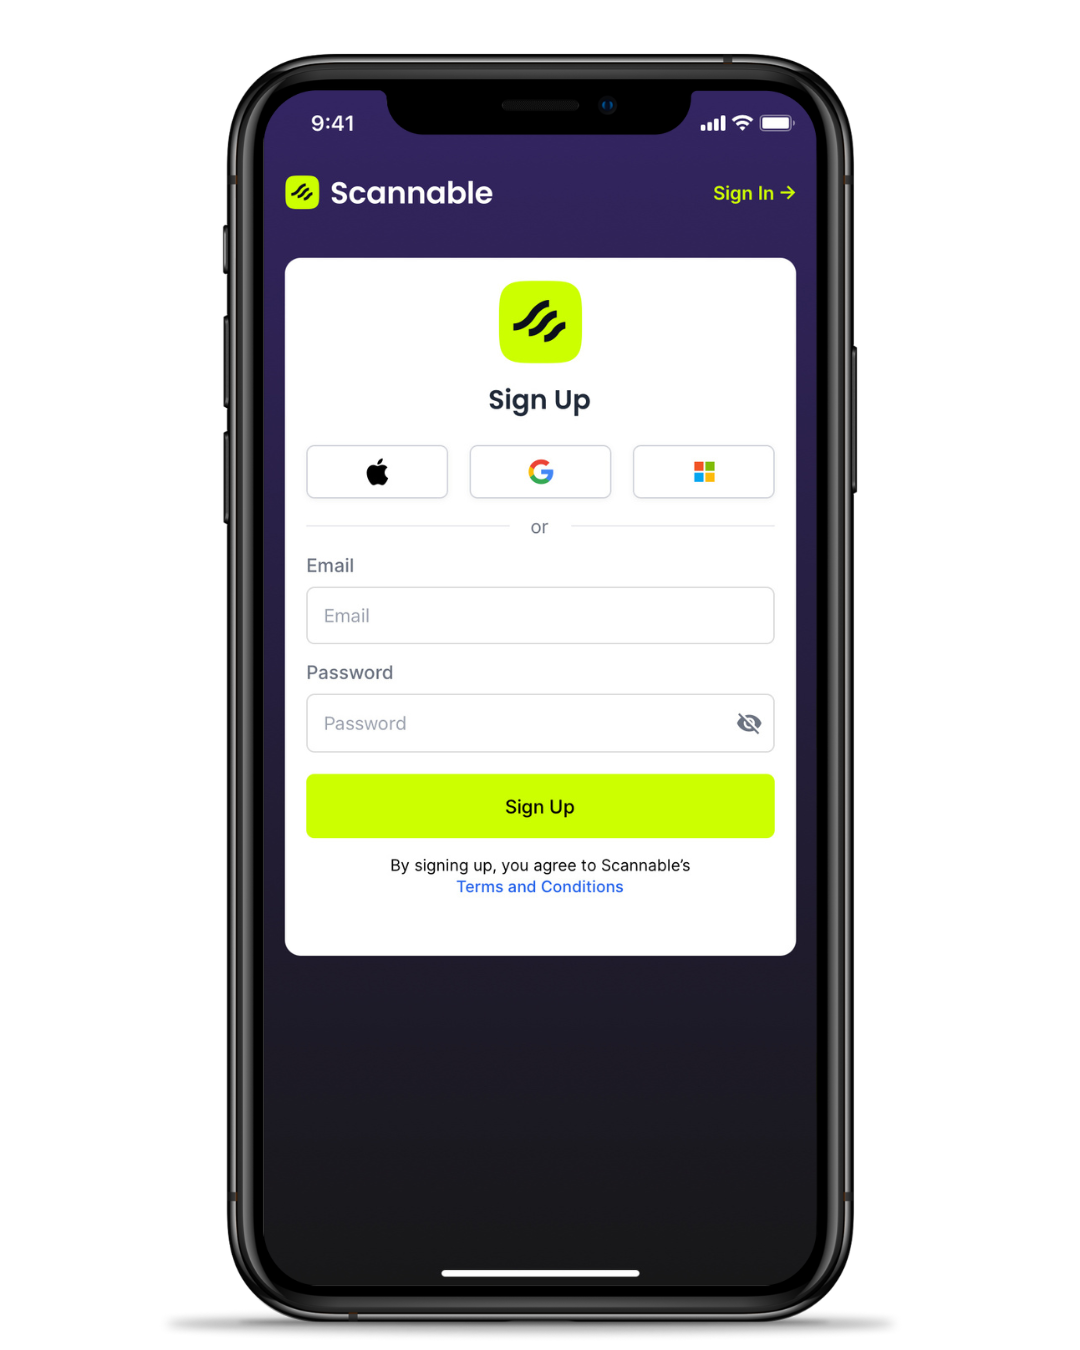
Sign up.
Want to sign up with your Apple, Google, or Microsoft account? Just click the icon. Alternatively, use your email address to create an account and start saving equipment to your Inventory list.
02
Find equipment to add to your inventory.
Start by tapping the Scannable logo to search for your item.
Use the Search tab to search by name or part number, or try scanning the packaging barcode in the Scan tab.
03
Add the item to your inventory.
Find the item you want to add and select it, then select "Add to Inventory".
04
Add the serial number.
Capture the serial number by typing into the serial number field.
If your equipment has a 2D code such as Petzl and Courant's data matrix, try scanning this with the camera.
Once you have added the serial number, tap "Add to Inventory".
The item is now saved in your Inventory.
05
Add NFC Tag.
If you want to add an NFC tag to your item, select "Options" then "Add NFC". Hold your phone against the tag, and give it a moment to read.
You might have to find your phone's NFC "sweet spot".This is usually along the top of your phone, sometimes toward the top back or top front.
It can take a little patience trying to figure out exactly where your phone's NFC antenna is, but once you've got it, you're sorted!
Search for the item you want to add to your inventory by clicking on “Add an item” in the Inventory screen.
We recommend using the Scannable app on your phone if you’re adding more than a few items to your inventory. Download the app for iPhone or Android.
02
Perform actions on one or many items in your inventory.
Select the action button to perform an action on one item of equipment, or select many items with the tick boxes and perform actions in bulk.
You can also use Multi-Scan with our USB NFC Reader for supermarket checkout-style bulk scanning and processing of items.
03
View the equipment assigned to your team.
Give your team access to the information they need to get the job done with Scannable Pro, and get full visibility of item history including who scanned, moved, or inspected the item.
Invite as many of your team as you like - team members are unlimited!
04
Set inspection frequency.
Create Inspection Types for any of your regularly performed inspections so you always know what's coming due, and you can be assured that the next inspection date is recorded accurately.
05
Record inspection results.
Select the action button to record comprehensive inspection results including photos and notes.
We recommend using the Scannable App on your phone to record inspection results right there and then—don’t double-handle the job by transferring the result from paper when you’re back at the office!
06
View inspection results.
Once your inspection results have been recorded, you can view the inspection status and comments in the Inventory screen.
Scroll across the Inventory screen to view all of the fields.
07
View item specs and history.
Click on an item’s image or serial number to show the item’s individual information.
The specifications tab will show you the manufacturer’s specs and documentation, and the history history tab will show you inspection history as well as the item’s movements.
08
Download and share reports.
Export a detailed inspection and inventory report to PDF in a matter or moments with information like date of first use, expiry date, and inspection results—all in a single report.